home portfolio about me links your comments
   

INTRODUCTION

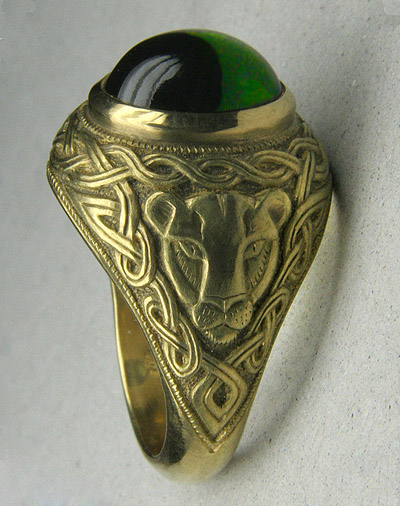
This ring was designed and made specifically for this site. My goal was not only to do a good job but also to document every step of the process.

The below technique is not unique and is still being used by many jewelers with the exception of steps 6,7,8 and 11. Those steps describe three-dimensional engraving that was widely used by old jewelry firms (Faberge) but now is mostly forgotten. At the bottom of this page, I provided a detailed description of my engraving equipment.

 In steps 4 and 9, I only mentioned the Lost Wax Casting method but didn't describe it, because I choose not to do my own casting. In the text, I provided links to other sites where you can find out more about casting (and other techniques).


How to make a ring


1.

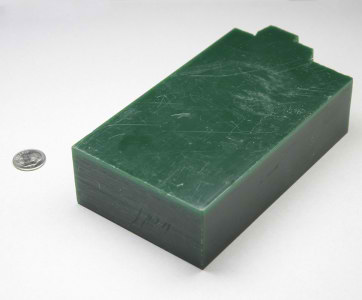
The job begins with a piece of wax. Modeling wax comes in different colors. I prefer the green one.


2.

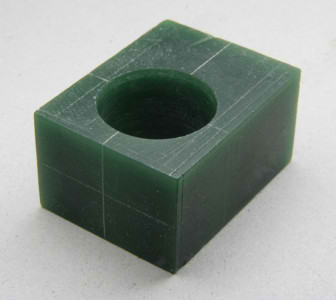
This is a small fraction of the bigger piece above. It's a parallelepiped - the opposite sides are parallel to each other, and all the angles are 90 degrees. The size of the hole is the size of the future ring.


3.

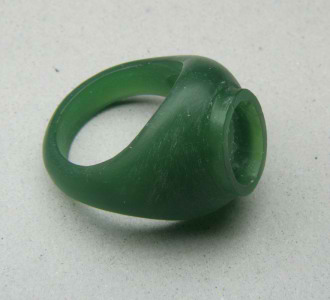
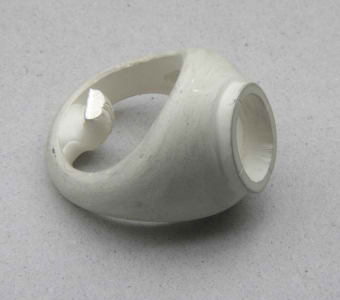
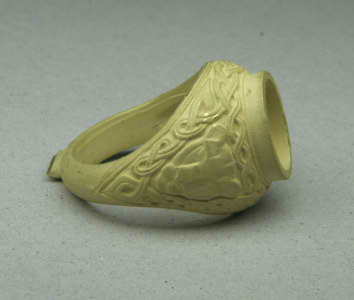
A simple wax ring is made.


4.

An exact silver replica of the wax ring is cast using the Lost Wax Method. I didn't have to do it myself. I just took the wax ring to a casting company on the West 48th street; the next day it was ready.

Some jewelers still do their casting at home. In places like New York and London, an extremely high quality casting in gold, silver and platinum is performed by casting companies that use modern centrifugal/vacuum casting machines. Most jewelry firms in New York choose not to do their own casting (too messy).


5.

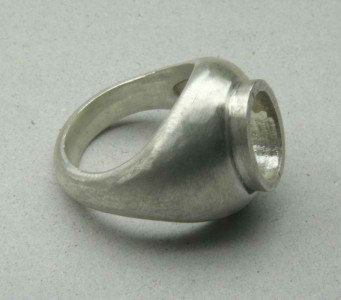
I cleaned the casting. It's a clean slate to me.

Now, I can make something wonderful out of it!


6.

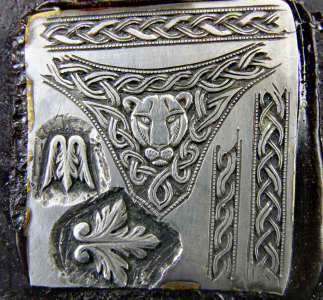
I decided to make a Celtic ring with a lion. I did some research and tried to draw lions and Celtic knots. I discovered that a lion's mane doesn't agree with the Celtic knots and, therefore, decided to go with a female lion or a smaller cat.

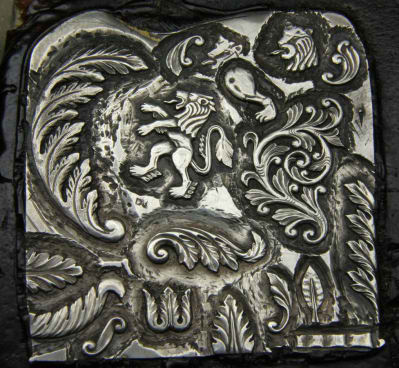
I designed the picture and engraved it on a piece of silver to see how it would look on the real ring. The silver plate is glued to the piece of wood with a shellac. The real engraving is, of course, much smaller then it apperars on your monitor.

Click on the image to see a bigger picture. That's how I see it through my microscope.


7.

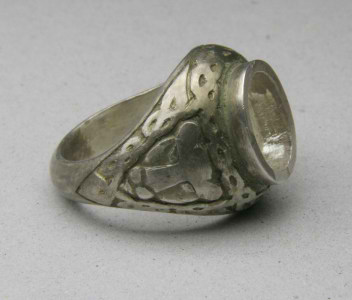
The pattern is partially engraved. The engraving is still too shallow and lacks details. I tarnished the recessed areas with iodine to make the engraving more visible.

I always make the background dark.


8.

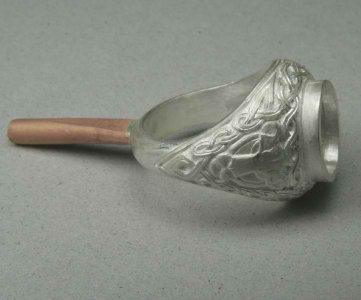
The model is finished. The copper rod attached to the ring is called a sprue. The sprue will make a channel for the molten gold.


9.

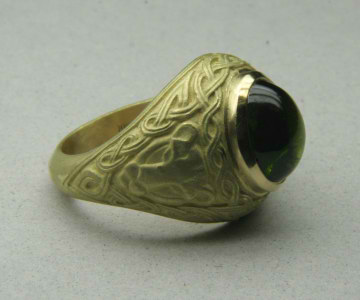
The ring is cast in 18 karat gold, using The Lost Wax Method (the same casting company).


10.

The ring is stamped and cleaned inside. The stone, a green tourmaline, is set.

Of course, I could just polish the ring with a machine and call it a day, and many jewelry manufacturers do just that; but then it would look like a regular production piece and not like a high quality hand-crafted ring.

Click on the image to see how ugly the casting is; if you just polish it, it'll look even uglier.


11.

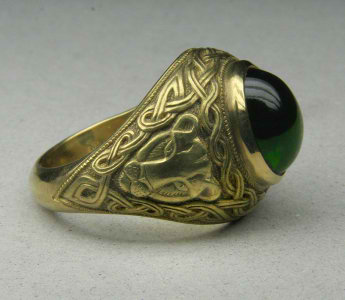
The ring is finally finished. The entire surface of the ring has been re-engraved and then rubbed with a fine emery paper. The recessed areas were tarnished with iodine.Then it was rubbed with a piece of leather with a small amount of a fine polishing paste.


Engraving in Three Dimensions


    The jewelry presented in this site is different from what you can find in most jewelry stores today, because I use and old and mostly forgotten technique - ENGRAVING. The engraving means cutting the metal with a little chisel called a GRAVER.

 Three-dimensional engraving ( the one I do) is similar to wood carving, only it's done on a much smaller scale. The engraving tools (gravers) are tiny, and the procedure can not be done without magnifying glasses or, better still, an engraving microscope.

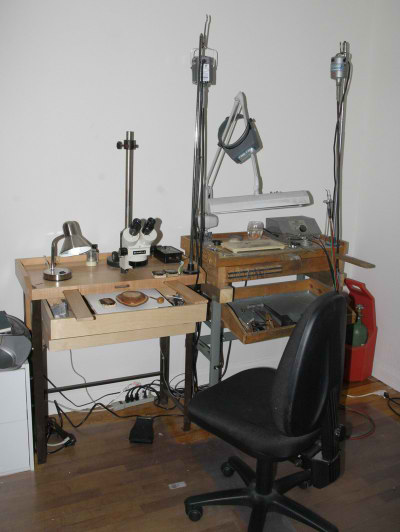
Below, is a picture of my workplace and a description of engraving tools I use in making my jewelry (including the ring above). 

Description of regular jewelry making procedures and tools is out of the scope of this site - you can easily find it in literature or in the Internet.


I have two benches. The right one is fully equipped
for making jewelry. The left one lacks the torch and a
proper light; I use it mostly for engraving and,
sometimes, for working with wax.
This is my microscope and an engraving pad.


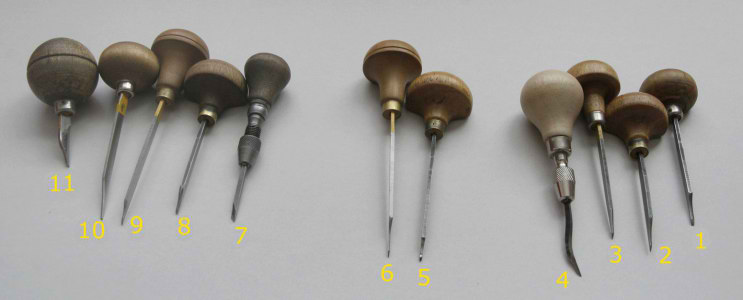
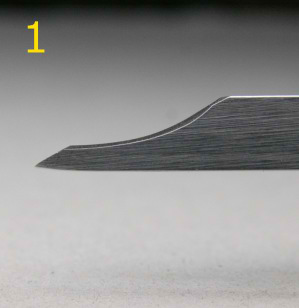
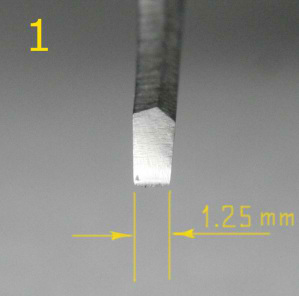
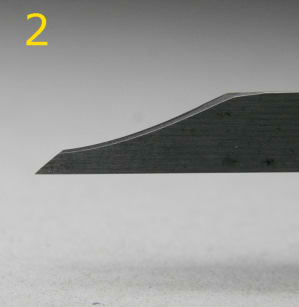
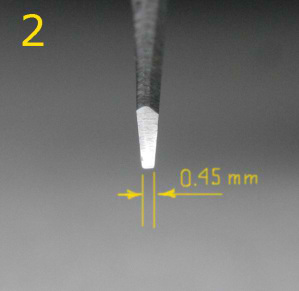
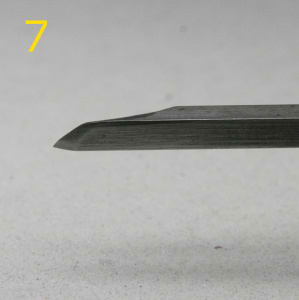
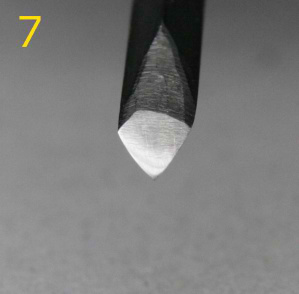
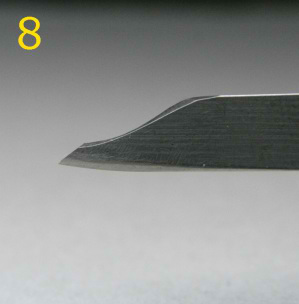
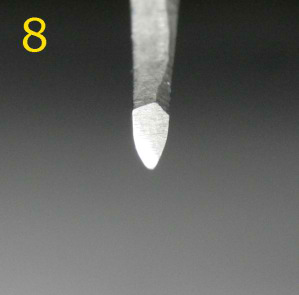
This is a set of gravers that I use for engraving and making models. Gravers #1, # 2, #3 and #4 are flat gravers. #5 and #6 are round gravers. #7, #8, #9, #10and #11 are wedge gravers. Some of the gravers are straight, others are beveled. Straight gravers can mostly be used on convex surfaces but not on flat or concave surfaces; beveled gravers can be used on convex, flat or slightly concave surfaces. Graver #4 is both beveled and bent and can cut on any (convex, flat or concave) surface. Gravers are made either of carbon steel or high speed steel.

Gravers are commercially available. They come in different shapes; unfortunately (although it's not a big problem) they are all straight (not beveled). The shape of a graver can be easily changed by grinding. Gravers made of carbon steel can also be bent. Most of my gravers have been reshaped more then once, depending on my needs. In parts of the world where gravers are not commercially available (dictatorships and countries ravaged by civil war), jewelers can make their own gravers out of files, ball bearings, or car shocks ( steel with 1% - 1.4% of carbon content). Some very basic blacksmith's skills are needed.


My Favorite Gravers

These gravers I use more often then others and never change their shape. The rest of my gravers, I view as disposable and can change their shape on the fly. The exercises at the bottom of this page are made mostly with these four gravers.

Flat beveled graver. Carbon steel.
   
Flat straight graver. Carbon steel.
   
Square beveled graver. Carbon steel. This graver is mostly used for lettering or cutting very thin lines.
   
Wedge beveled graver with a rounded edge. I use this graver to cut shallow lines and to lower the background.


Exercises.

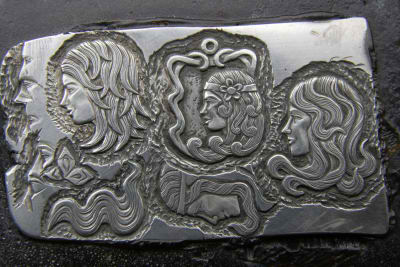
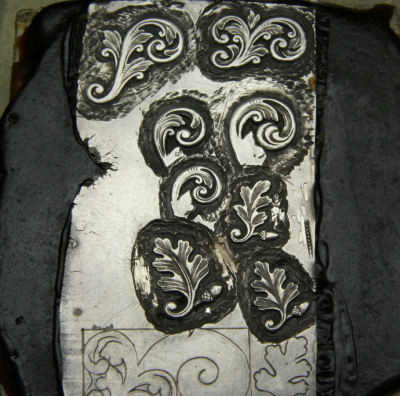
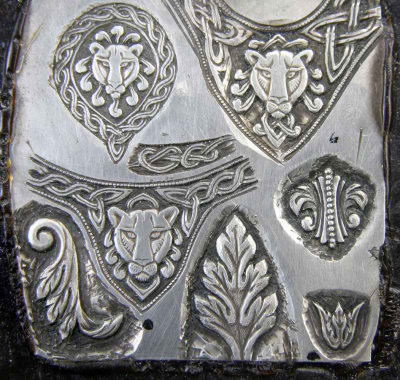
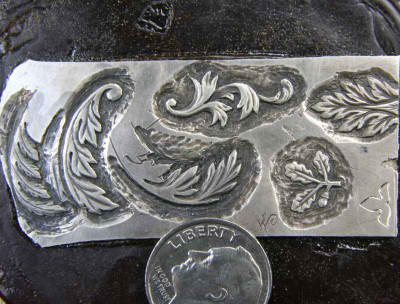
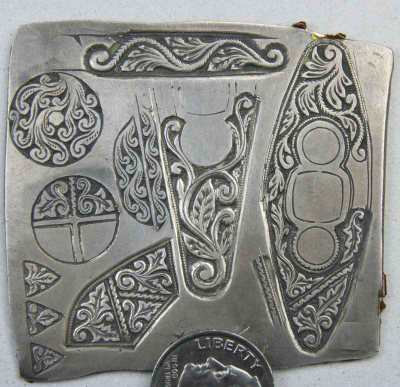
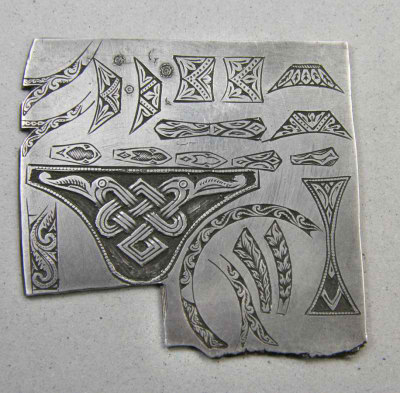
Before cutting an ornament on a piece of jewelry, It's very important to make sure It'll look exactly or almost exactly as it was intended. A mistake can ruin an expensive piece. Therefore, before touching a piece of jewelry or a model with a graver, I experiment with the design on a piece of silver. The pictures below appear significantly larger then the originals (look at the size of the dime), although it might depend on your monitor.

Click on the images below to see larger pictures.

This is, finally, the end of this page. If you made this far, and if this site has sparked your interest, please, do not hesitate to send me your questions or comments. I'm also open to any suggestions and any constructive criticism.

Michael.


Copyright 2009